
Create application
Applications are registered entities within Mercado Pago that act as a unique identifier for managing the authentication and authorization of your integrations. They represent the link between your development and Mercado Pago and constitute the first stage in carrying out the integration.
To create an application, you have three options available: with an AI agent from your code editor, with the Mercado Pago Developers Assistant, or manually from the integration Panel.
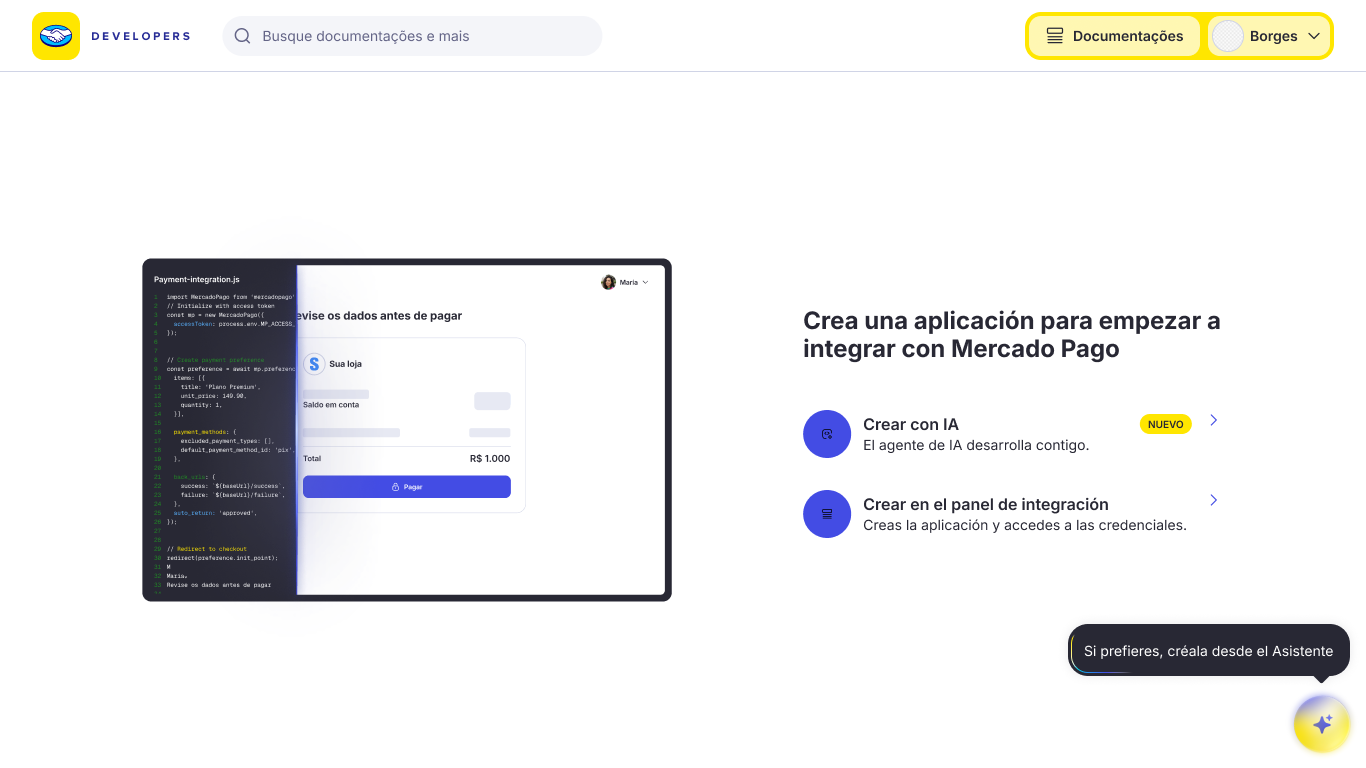
You can use our AI resources to create your application from your IDE or agent in 2 steps. The agent will take care of creating the application in the integration panel and guiding you through the entire configuration.

To do this, you have two options: installing the Mercado Pago Plugin, available for Claude Code and Codex, or configuring the Mercado Pago MCP Server, available for editors such as VS Code and Cursor. Follow the instructions for the option you choose.
Claude Code
Run the following command to install the Mercado Pago plugin for Claude Code.
bashclaude plugin install mercadopago@claude-plugins-official
Once installed, run the /mp-connect command to authorize the agent's access to your Mercado Pago account.
Codex
Run the following commands to install the Mercado Pago plugin for Codex.
bashcodex plugin marketplace add mercadopago/mercadopago-codex-marketplace
codex plugin add mercadopago@mercadopago-codex-marketplace
Once installed, run the /mp-connect command to authorize the agent's access to your Mercado Pago account.
VS Code
Add the following configuration to your mcp.json file.
json{
  "mcp": {
    "servers": {
      "mercadopago-mcp-server": {
        "type": "http",
        "url": "https://mcp.mercadopago.com/mcp"
      }
    }
  }
}
Cursor
Add the following configuration to your mcp.json file.
json{
  "mcpServers": {
    "mercadopago-mcp-server": {
      "url": "https://mcp.mercadopago.com/mcp"
    }
  }
}
Finally, ask the agent to create your application in Mercado Pago. If you'd like, you can copy and paste the following prompt.
plainI want to integrate with Mercado Pago. Recommend the ideal payment solution for my project, create the application, and guide me through the integration.
In Your integration, you will be able to view the list of all your created applications and access the Integration data for each of them.
Access test credentials
After creating your application, the test credentialsUnique access keys that we use to identify an integration in your account, linked to your application. For more information, access the link below.Credentials will be automatically generated. You should use them to perform all the necessary configurations and validations in a secure test environment. If, instead, you are using an existing application, it will be necessary to activate the test credentials.
When accessing these credentials, the following keys will be displayed: Public KeyPublic key that is used in the frontend to access information and encrypt data. You can access it through Your integrations > Integration data > Tests > Test credentials. and the test Access TokenPrivate key of the application created in Mercado Pago, which is used in the backend. You can access it through Your integrations > Integration data > Tests > Test credentials.. The test Access Token starts with the prefix APP_USR, just like your production Access Token.

If you are using an existing application, it will be necessary to activate the test credentials. For more information, access the Credentials documentation.
To develop your Mercado Pago Point integration, use your test Access TokenPrivate key of the application created in Mercado Pago, which is used in the backend. You can access it through Your integrations > Integration data > Tests > Test credentials. During integration, use the test Access Token and, upon completion, replace it with the production Access Token if it is your own integration, or with the Access Token obtained through OAuth in the case of third-party integrations. The test Access Token starts with the prefix `APP_USR`..
Once you have obtained the necessary credentials, you can proceed with terminal configuration.