Point Simulator
The Point Simulator is a tool that allows you to interact with various endpoints of our API to integrate Point of Sale devices with our system. Its main objective is to help you understand the flow of creating and canceling a payment attempt.
For this reason, the Point Simulator will also allow you to test that your Point integration and payments processing are working correctly. Although it’s not an exact replica of a device, it has educational purposes, to help with familiarization with our API.
The simulator has two modes of use:
PDV mode: simulates the integration of a complete system (device and Point of Sale) with our API.
Device mode: simulates a virtual Point of Sale device so you can test your integration using HTTP requests.
To learn how to use the simulator, follow the steps below.
1. Generate the test environment
To start testing integrations and payment flows with the Point Simulator, you will need to generate a seller test users and access their production credentials.
To generate these credentials, access Your Integrations, select the application where you integrated Mercado Pago Point, and in the Test Accounts section, click on the + Create test account button. You will need to complete the requested fields according to the instructions.
If you prefer, you can also create test users using the following command:
curl
curl -X POST \
-h "Content-Type: application/json" \
--h 'Authorization: Bearer YOUR_TEST_ACCESS_TOKEN'\
"https://api.mercadopago.com/users/test" \
-d '{"site_id":"MLA","description" : "a description"}'Please note that when creating a test user for an application already integrated with Point, a store and a point of sale will be automatically generated and associated with that test seller account. This means that you can carry out your tests on payment processing without the need for additional configurations.
2. Set up the test environment
Before accessing the Simulator, you need to finish setting up your test environment. Follow the instructions below to do so.
- Log in with the production credentials of the test seller user in an incognito window.
- Access Your Integrations and create an application with Mercado Pago Point as the product to integrate.
- Configure your test notifications by accessing the Notifications > Webhooks option in the left-hand side panel. Please note that you should do this in the Test Mode tab, and it is recommended that the configured URL be different from the one where you will later receive notifications for your real payments. You can refer to the Notifications documentation for more details on how to configure them.
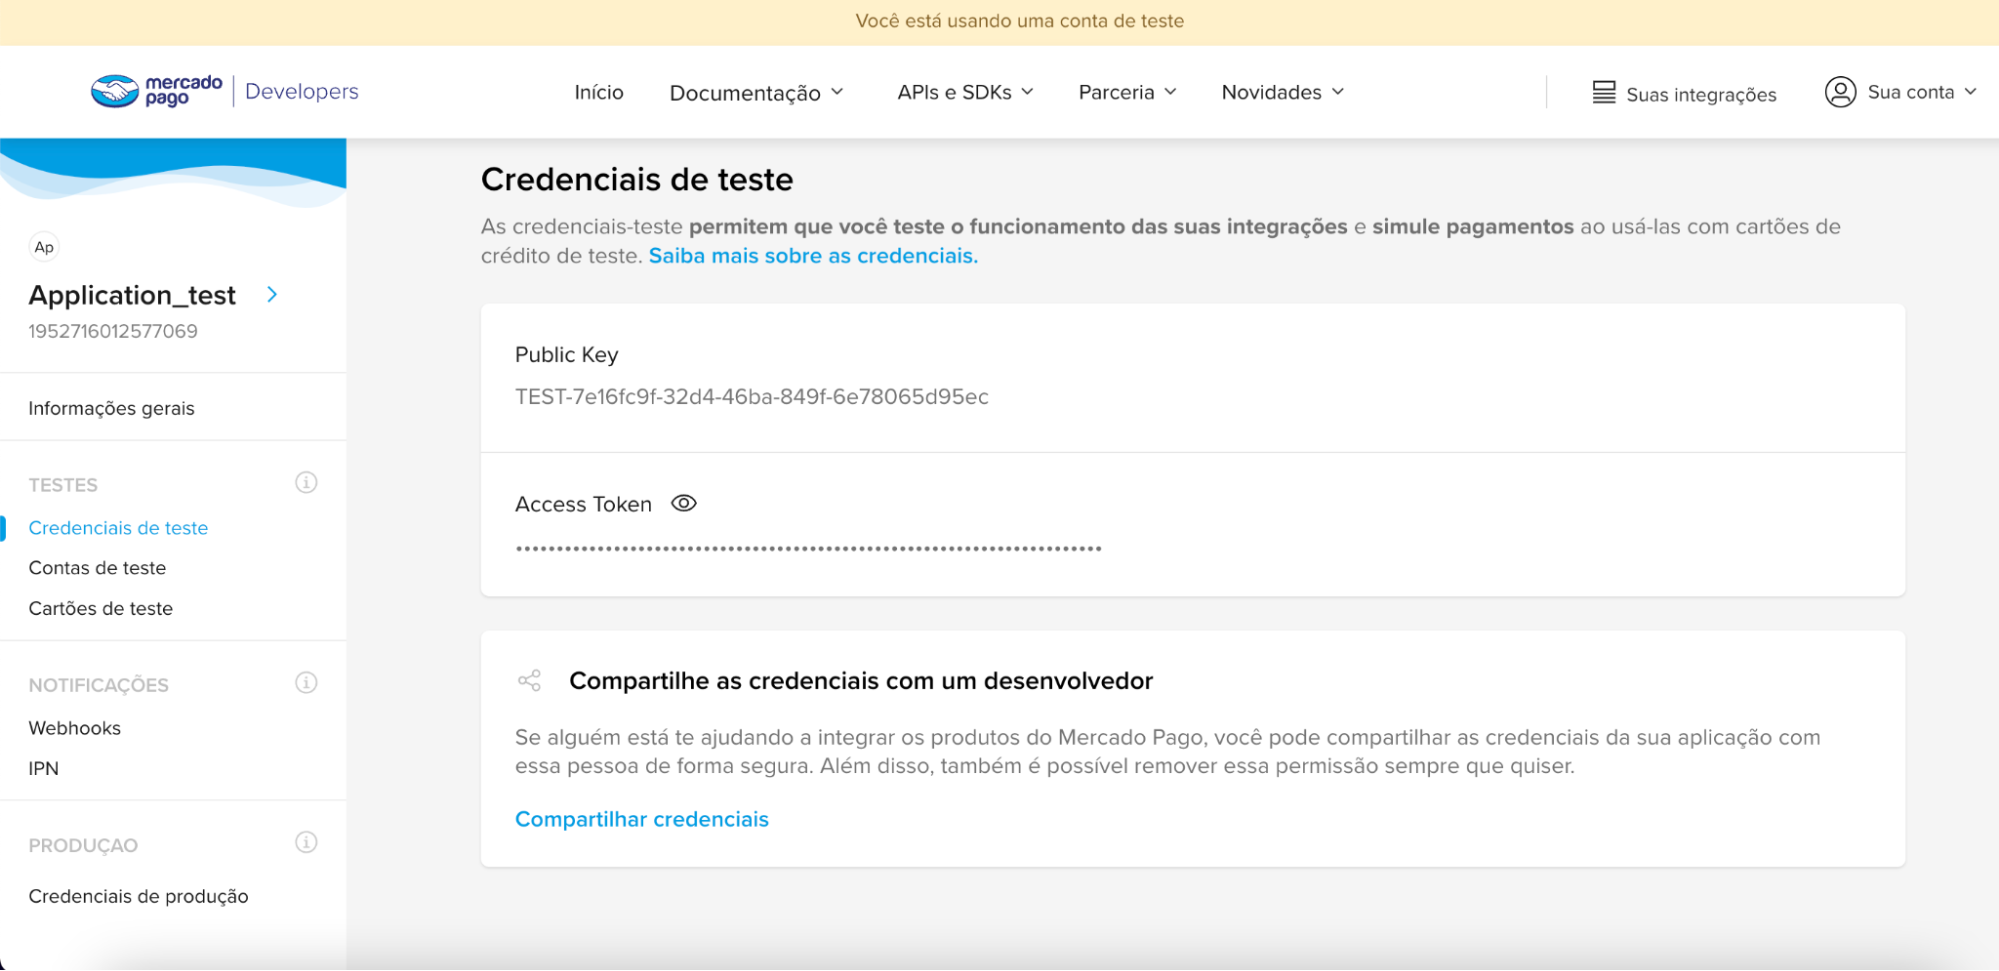
- In the left-hand side panel, access Testing > Test Credentials to obtain the test Access Token for your seller user. The Simulator will request it to give you access to the tool and assign you a virtual device associated with your integration.
3. Access the Simulator
To access the Simulator, select the option that corresponds to your type of integration and complete the fields requested for each one.
PDV mode: Enter the PDV mode Simulator and provide the test Access Token for your test seller user (
TEST-XXXXX-XXXXX-XXXXXXX). By doing so, the Simulator will assign you a virtual device.To use the Simulator, it is not necessary to change the operation mode as the simulator works by default in PDV mode.Device mode: Enter the Device mode Simulator and provide the test Access Token for your test seller user (
TEST-XXXXX-XXXXX-XXXXXXX) along with the device ID obtained when listing your devices.
Once you have provided the information according to the chosen mode of the Simulator, click the Confirm button to access the virtual device.
4. Simulate a payment intent
To test different payment flows, we have prepared different scenarios that allow you to simulate a real experience.
To start the simulation, create a payment intent and assing it to the Point device. In the amount field, you must select the amount according to the status you want to obtain.
| Status | Amount |
| Reversed | $1100 |
| Rejected | $1200 |
| Error | $1300 |
| Successful | Any other value different from the previous ones |
5. Get the payment intent from the Simulator
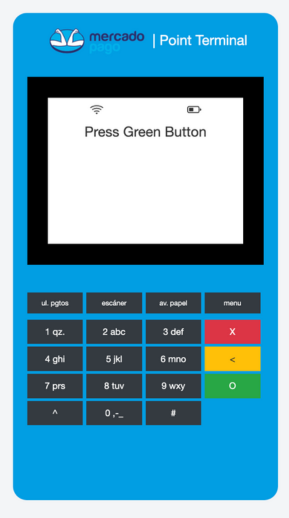
Once the payment intent has been created, you must click on the green button of the virtual device to obtain the created payment intent.
Once found, you can verify that the amount initially entered matches the one shown on the device screen.
6. Process the payment
If the Simulator obtained the payment intent successfully, proceed to make the payment by clicking on the animation of the card, which represents the card swipe in the device.
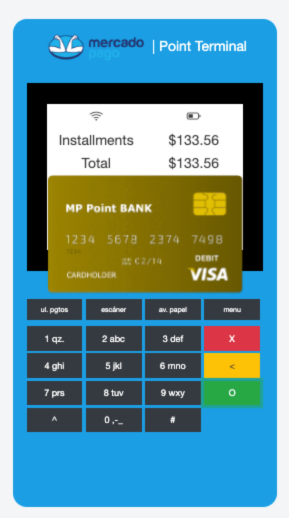
Processing will begin immediately and the device will display the result according to the selected amount.
| Status | Simulator behaviour |
| Reversed | The screen will display an error and provide the detail "Reversed". |
| Rejected | The screen will display an error and provide the detail “Rejected”. |
| Error | The screen will display an error and provide the detail “Error”. |
| Successful | A successful payment screen will be displayed and the detail will be “Approved”. |
7. Receive the notification
When payment intents are processed, an alert is sent to the URL configured as the notification channel by the integrator. In the case of test payment notifications made through the Simulator, they will be sent to the channel you defined as the notification pathway when configuring your test environment with your seller user.
To validate their reception and proper functioning, go to your notification log. There, you will find the sent notification with the transaction status, so you can verify its details.